Calendar Feature in EMS
How to use the calendar feature in ANR Events Management System.
ANR Events Management System now has a calendar feature. Create a calendar invite to send your event information to registrants so they can save all the important event details right to their calendar.
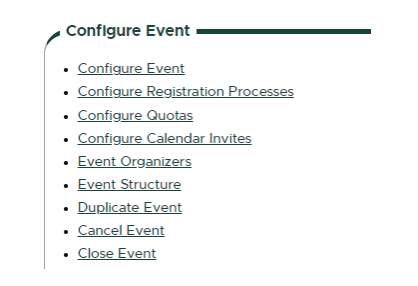
- On the Event Dashboard, navigate to "Configure Calendar Invites".

- Select whether you want to apply a calendar invite to the entire event or one registration process.
Tip: Use the calendar invite for one registration process option if you have multiple registration processes with varying details and information. If you select "One registration process", you will need to additionally select which registration process.
3. Select if you want the invite to be sent to all registrations or only registrants for a specific user input.
Tip: If you want to send calendar invites to everyone no matter their registration answers, select "All registrations". If you want to send calendar invites based on specific registration answers, such as event date or location, select "Registrations for a specific user input". If you select "Registrations for a specific user input", you will also need to identify the question and answer you are creating calendar invite for.

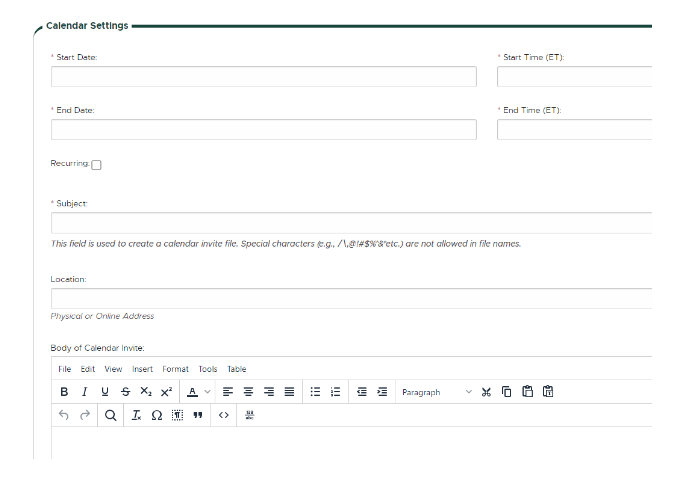
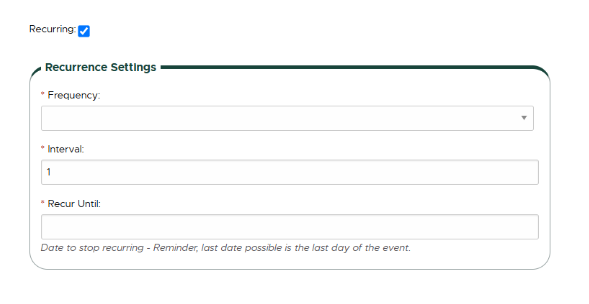
4. On the "Edit Calendar Invites" page, fill in the required event details: start date, end date, and time (00:00 am/pm format). You can also select for the invite to be "recurring" if the event has multiple dates.

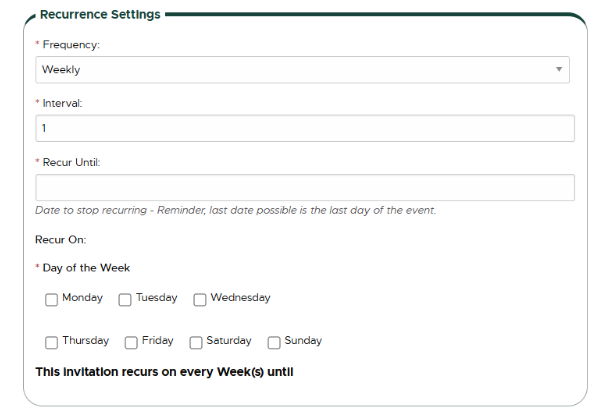
If your event is recurring, select the frequency from the provided options: daily, weekly or monthly. The questions under Recurrent Settings will change depending on the frequency selected. Select the recurrence options that match your event details.
Monthly Recurrence:
Weekly Recurrence:

5. "Subject" should be a unique title for your calendar invite, such as the event name or name and location/date if you have multiple event locations or dates. The subject will become the title of the calendar invite for your event attendees. The location may be a physical address or a virtual meeting link. The "Body of Calendar Invite" may include specific details such as additional virtual meeting information, event agenda, event reminders, recommended apparel or items to bring for the event, etc. The body text is limited to 8000 characters.
6, List your email for the "Organizer Email" to receive a test calendar invite sent to your email. If you do not want a test email, check the box "Do Not Send Test Email to Organizer".
7. Click "Create Invite". Depending on your configuration, the registrants for your event or for a specific question/answer in your registration form will automatically receive the calendar invite upon completing their registration.


 Print
Print Email
Email