Christmas trees 101: Soil test to optimize production
Soil testing is critical before and during a Christmas tree rotation.

After decades of declining acreage and number of farmers, Michigan is seeing a surge of new interest in Christmas tree production. Successful Christmas tree production requires a specific set of soil properties. Michigan State University Extension recommends having soil tests taken to determine the soil characteristics and how to best amend and manage those conditions for Christmas tree production.
In general, growers should plan to test before planting as well as consistently during the rotation. Testing prior to planting a new field provides growers with the information they need to optimize field conditions, most critically the level of important nutrients and soil pH. If nutrient deficiencies are identified, they can then be addressed before planting. This is particularly important when addressing very low mobility nutrients like phosphorus, which needs to be incorporated through tilling to ensure availability in the root zone. Similarly, soil pH adjustments are best addressed before trees are established. Soil pH impacts nutrient availability, so correcting both the pH and nutrient levels are critical and help ensure seedlings get the best start possible.
After planting, the soil should be tested every two to three years during the rotation to monitor and correct for any changes in conditions over time. Growers may also conduct soil samples to trouble-shoot specific problems that may be occurring with their crop. Stay tuned for a broader discussion on trouble-shooting nutrient problems in a separate article in this series.
Regardless of the purpose of a given soil test, it is essential that growers collect a sample that is representative of the site and the soils that tree roots will access.
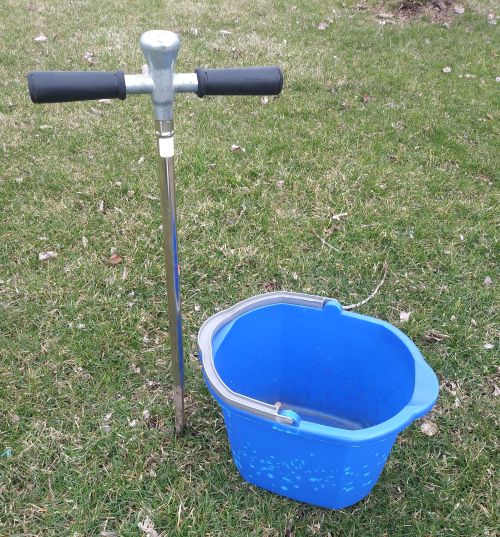
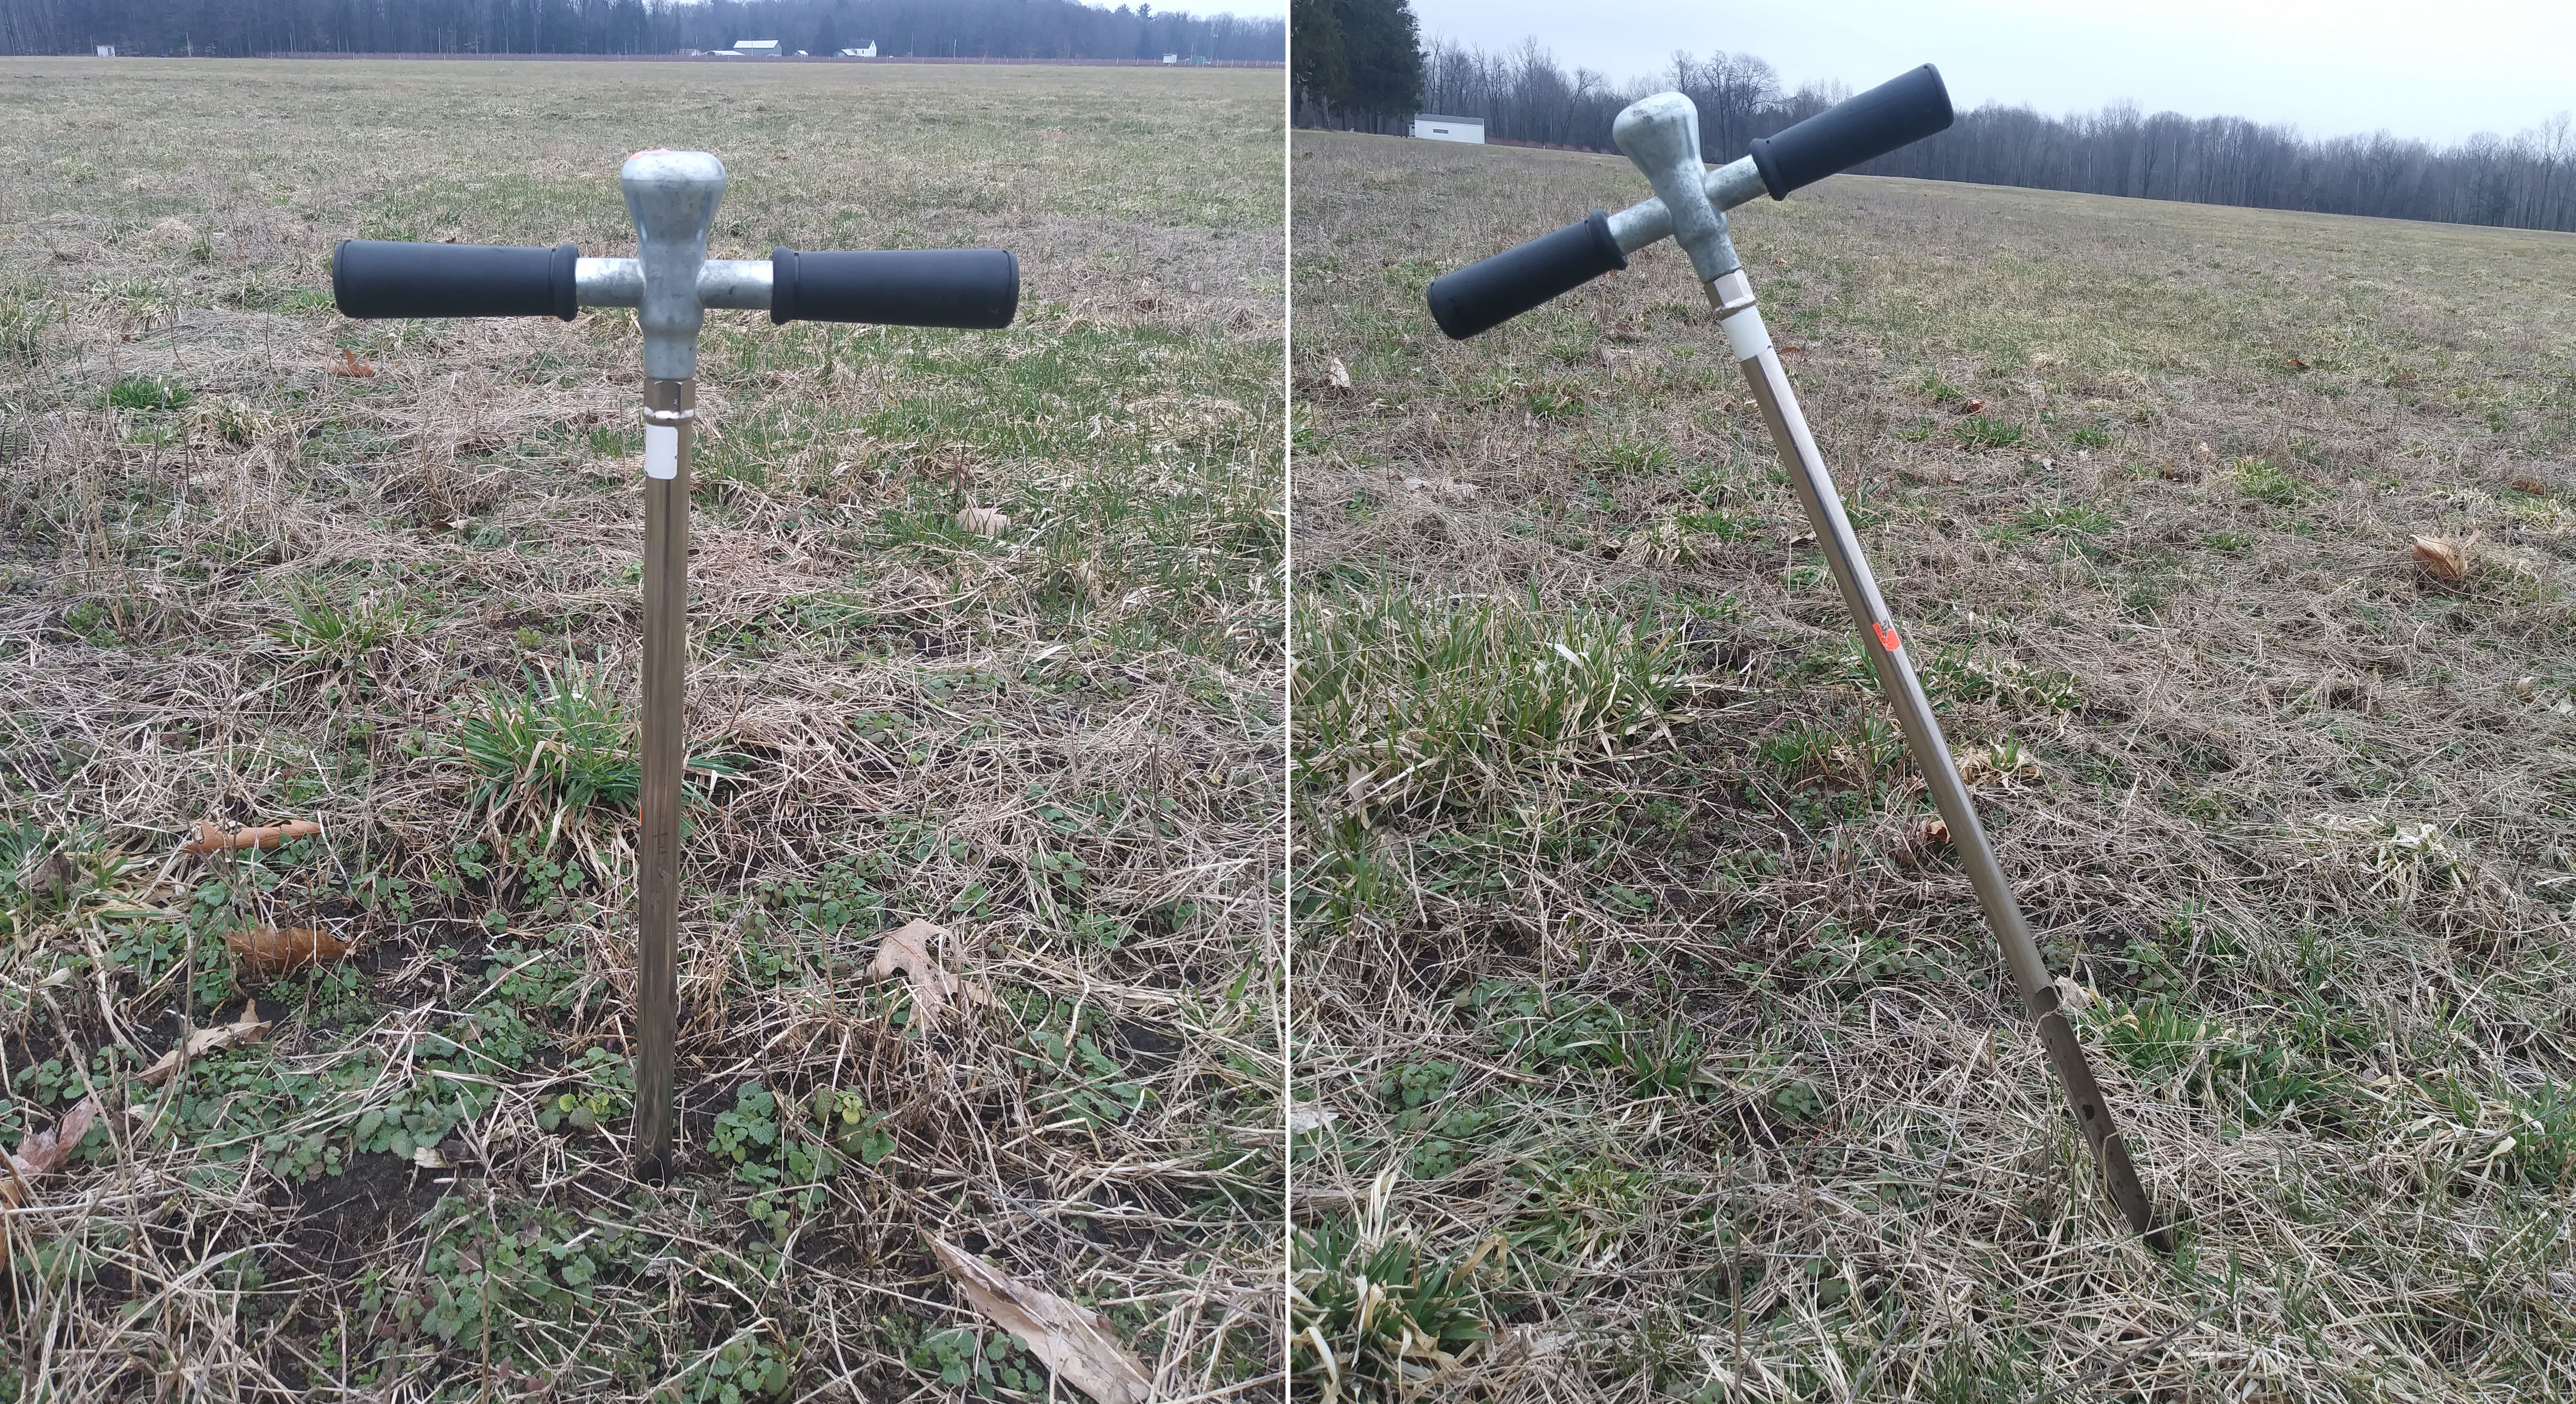
For pre-plant soil samples and sampling during the crop rotation, MSU Extension recommends using a soil probe and a clean plastic bucket for collecting soil samples (Photo 1). Follow a zigzag pattern across your field, taking between 10 to 20 samples to a soil depth of 8 inches using the soil probe. Each sample should be taken directly perpendicular to the ground, not at an angle (Photos 2 and 3).

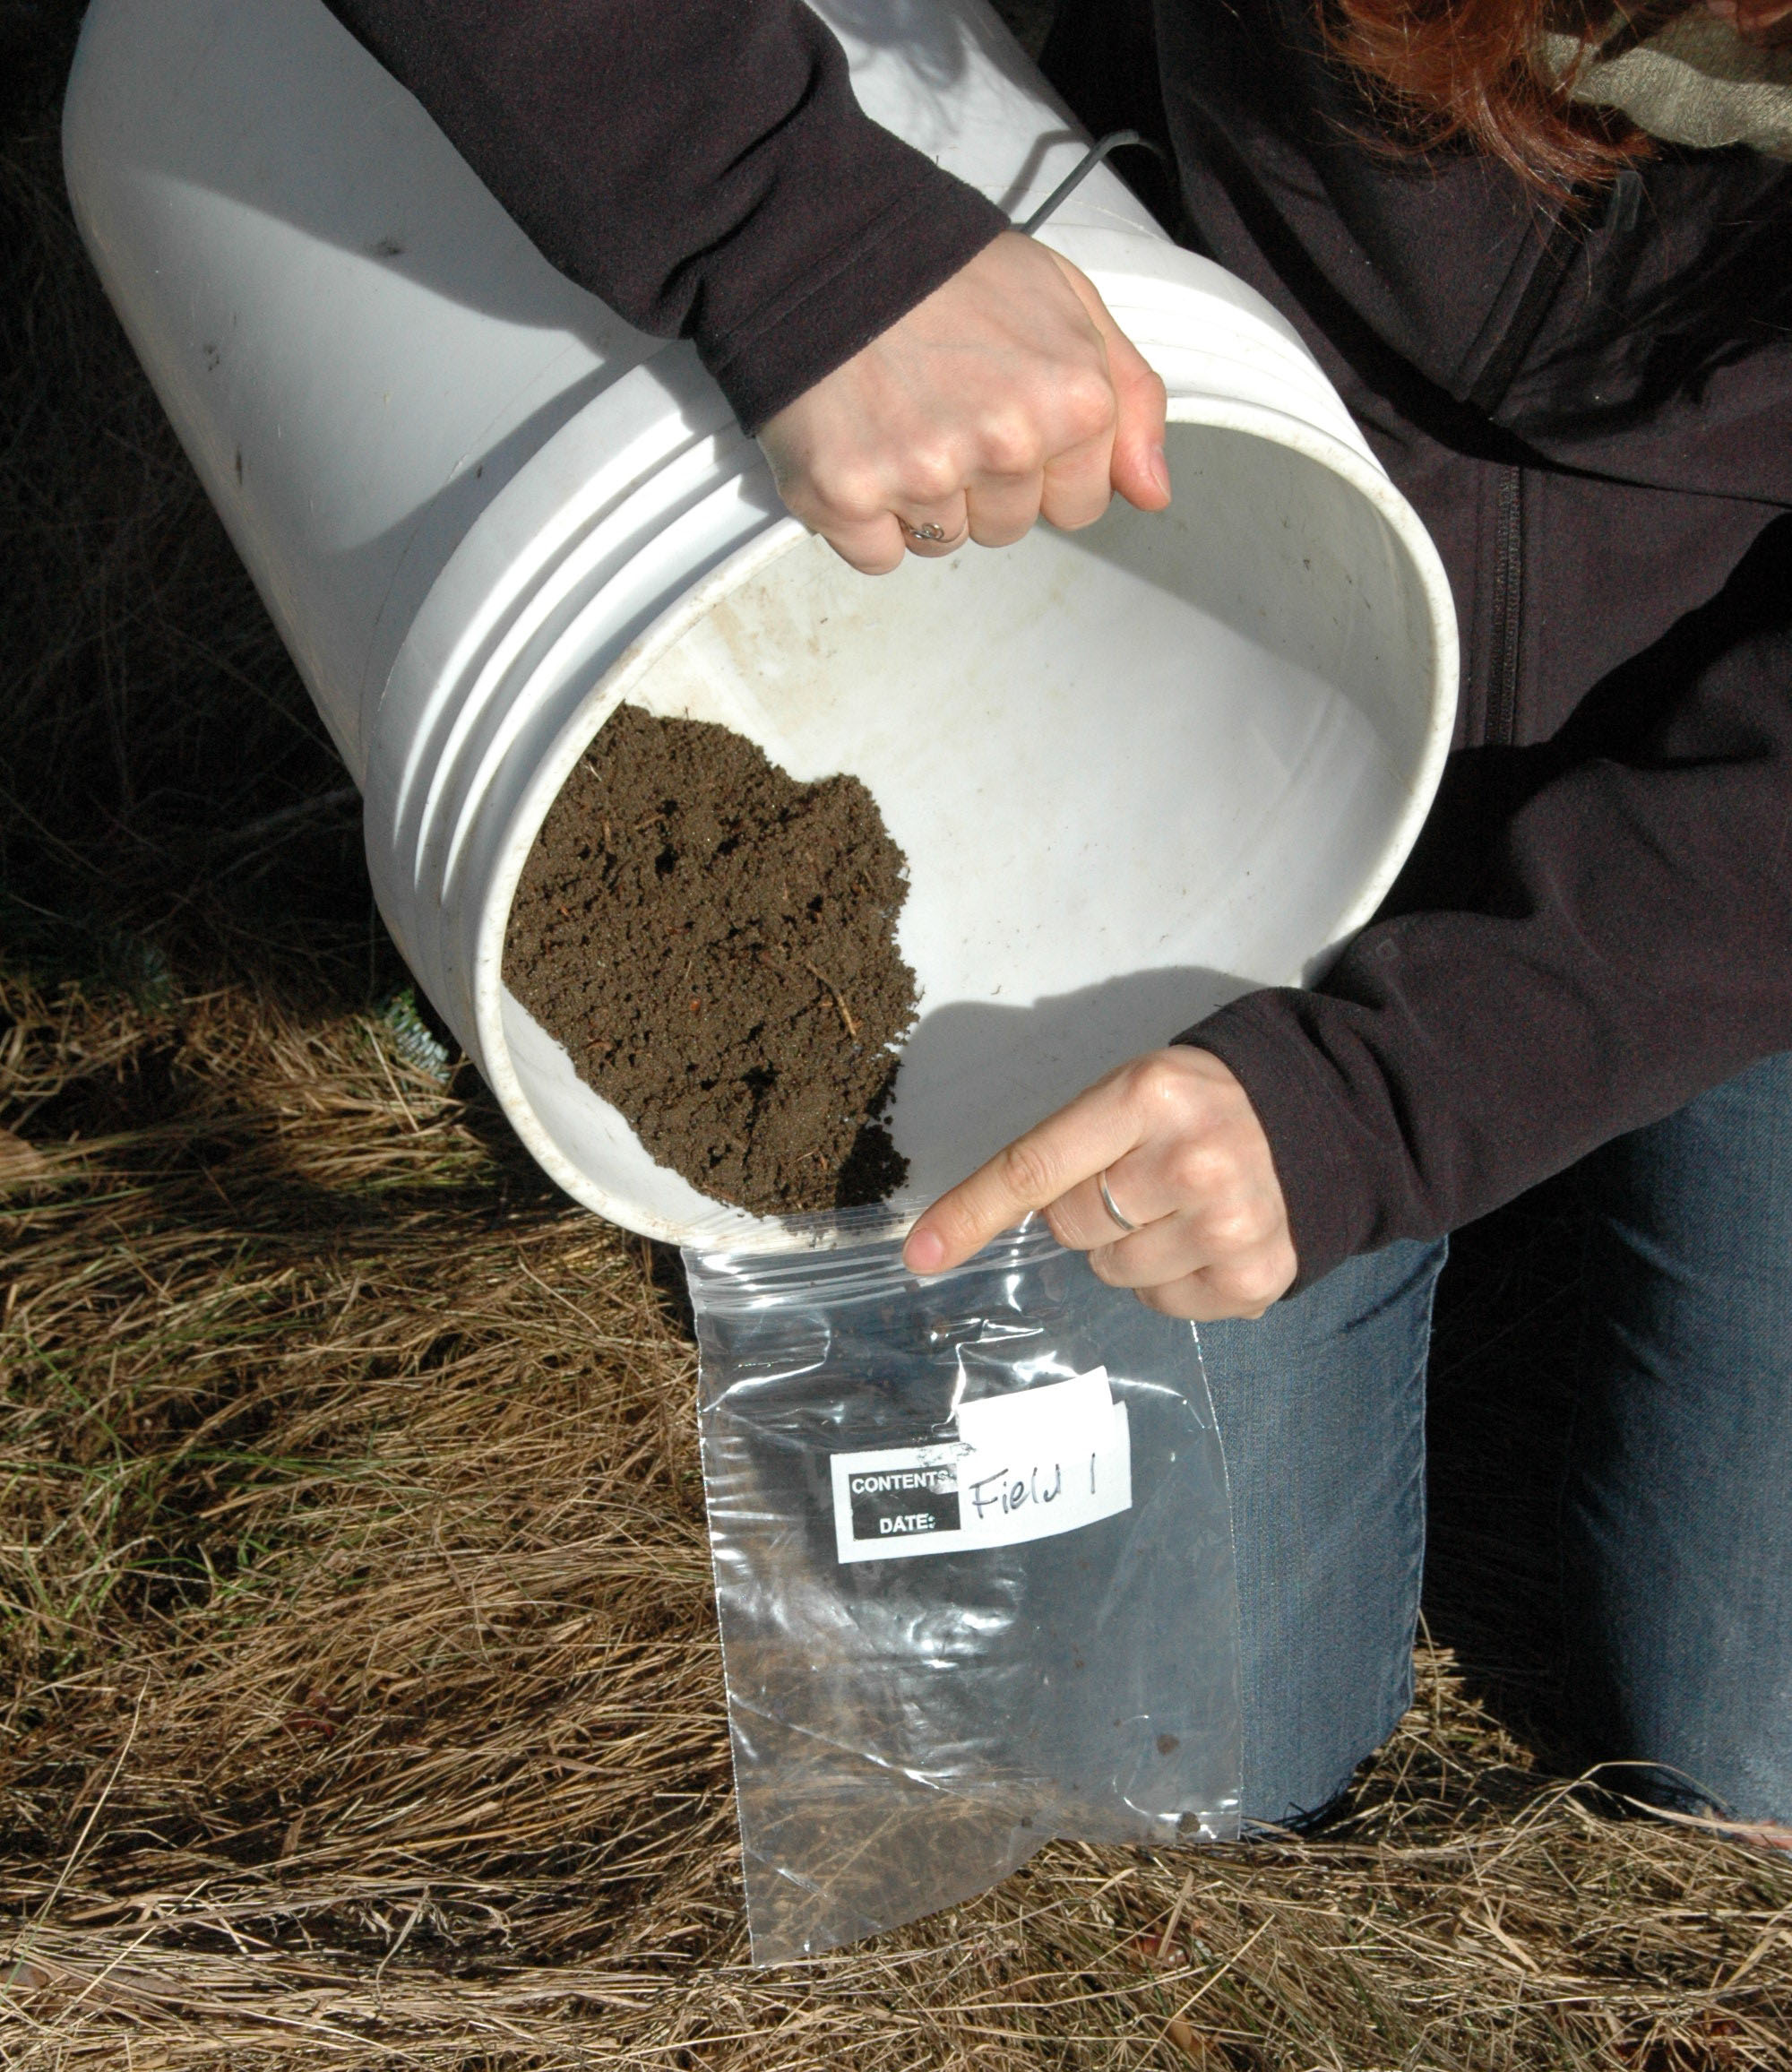
Mix your probe samples together in the plastic bucket then pour a uniform sample into a labeled, new zip lock bag (Photo 4).

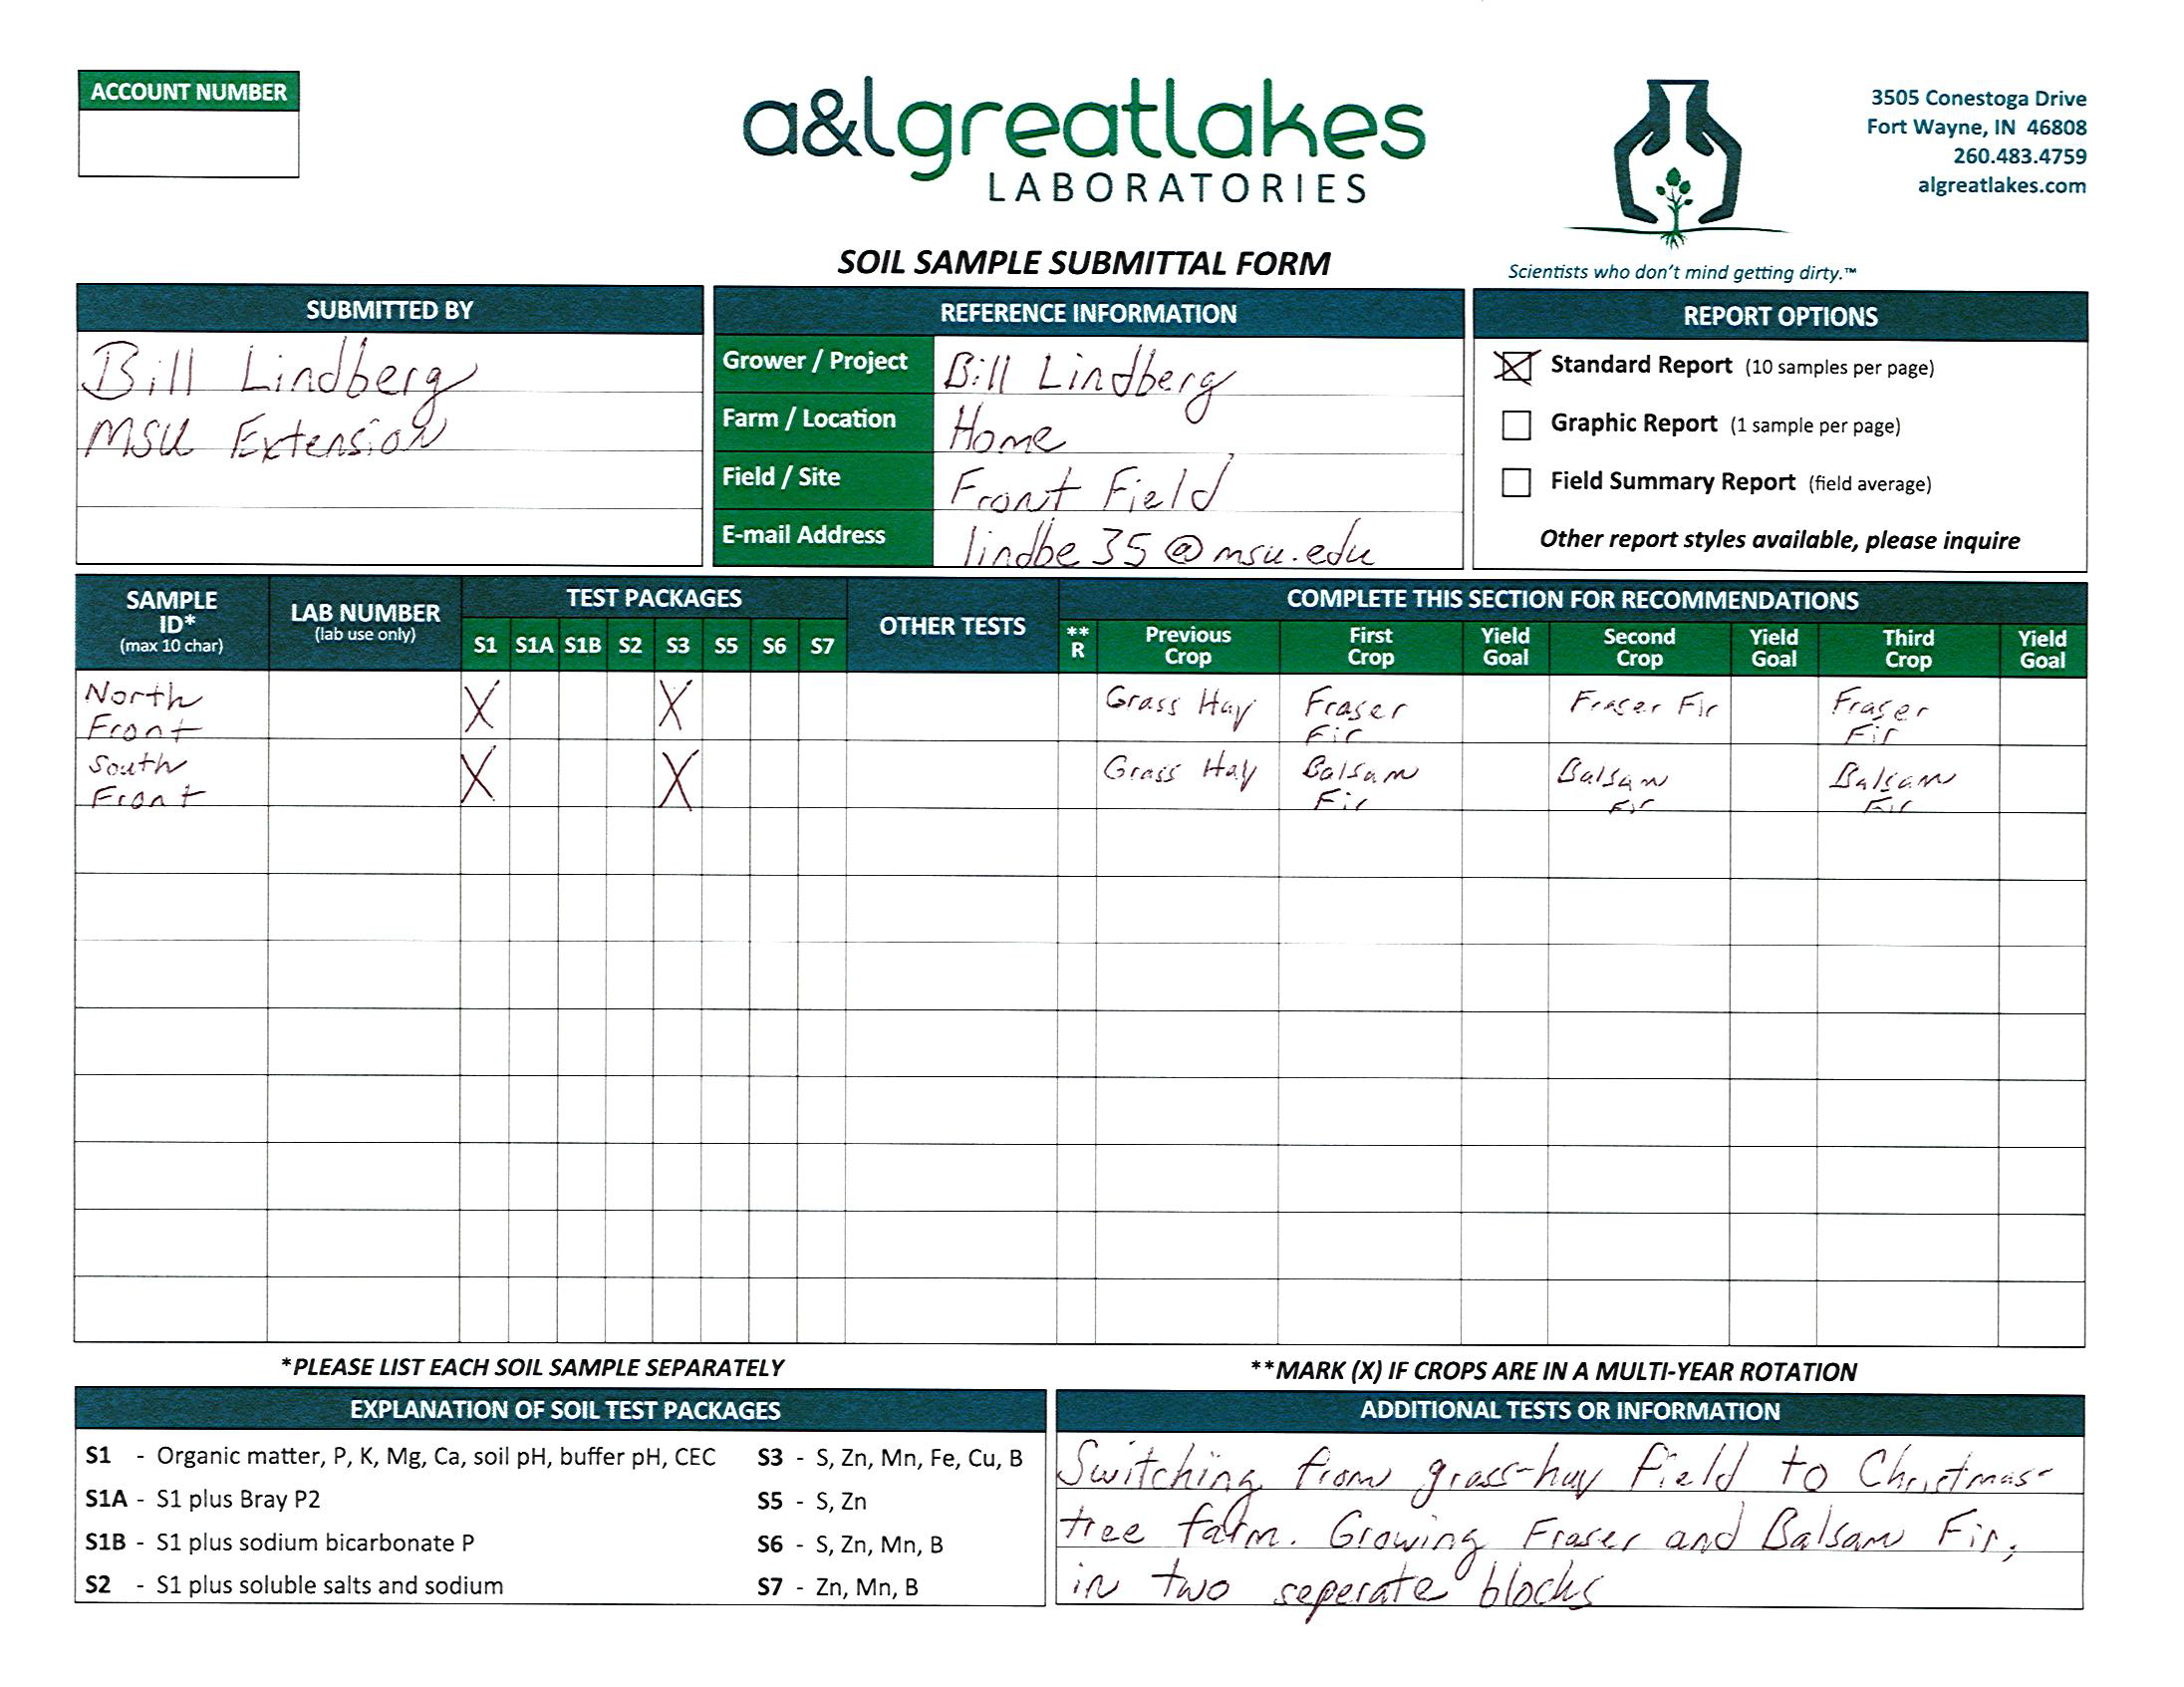
Mail your sample and completed soil submittal form to a soil testing laboratory for analysis. Include as much detail as possible on the submittal form (Photo 5) to help the lab make better nutrient recommendations and track changes to the soil over time.

Each soil sample submitted should be representative of the field area and not exceed 10 acres in size. Where possible, separate your sample areas if there are areas with obvious differences in slope or if there have been different past land uses such as pasture versus grain crops grain recently cleared woodlands.
Examples of soil testing labs include but are not limited to MSU Soil and Plant Nutrient Laboratory, A & L Great Lakes Laboratories, Spectrum Analytical and Midwest Laboratories. MSU Extension makes no recommendation on specific laboratory for your soil analysis. Included example laboratories are not meant as an endorsement.
Soil sampling can be done at any time when the ground is not frozen. David Henry, agronomist from A & L Great Lakes Laboratories, recommends keeping your sampling time period consistent from year to year. This will reduce variability in test results and allow for nutrient trends to be more easily observed over time.
For assistance in understanding your soil test results, check the MSU Extension Christmas Trees website for future articles in the Christmas Tree 101 series, or contact MSU Extension Christmas tree educator Bill Lindberg at lindbe35@msu.edu.


 Print
Print Email
Email