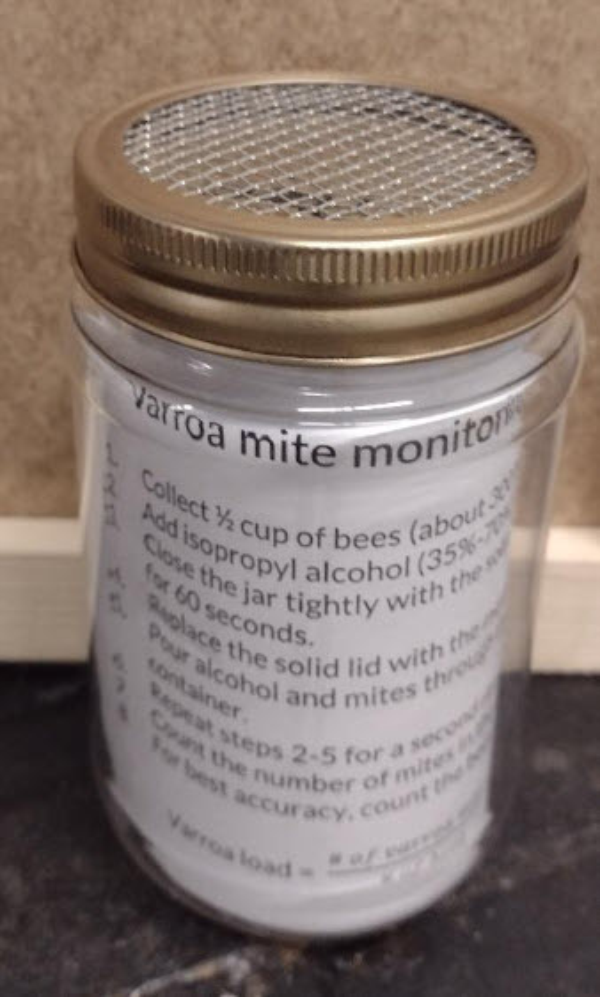
DIY Varroa Mite Wash Jar instructions
January 10, 2024 Dan Wyns, Meghan Milbrath, Heather Chapman
Materials list for mite wash jars
Note: The jars used here are plastic, regular mouth. If you prefer wide mouth, you may have to use glass jars and the appropriate size hole saw.
Tools Needed:
- Drill/Driver (reversable)
- Snips
- Spring Clamps
- Hole saw with a removable pilot bit (note that hole saw should be ¼” larger than jar lid size for snug fit) 3” works with jar/lids linked above
- 2 pieces scrap wood (1 foot of 1x6 works well)
Instructions for cutting hardware cloth:
1. Stack the 2 pieces of scrap wood and use clamps to hold them together.
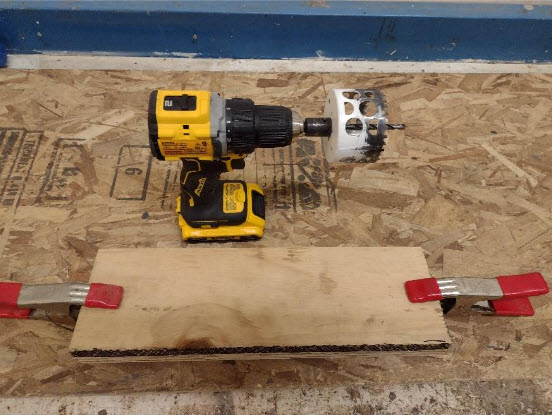
2. Use the hole saw with a pilot bit to cut a hole through the top board, while the bottom board prevents drilling into the benchtop.
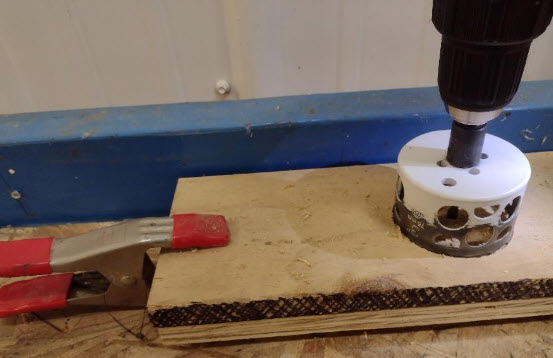
3. Use a screwdriver to remove and discard the circle cut by the hole saw.
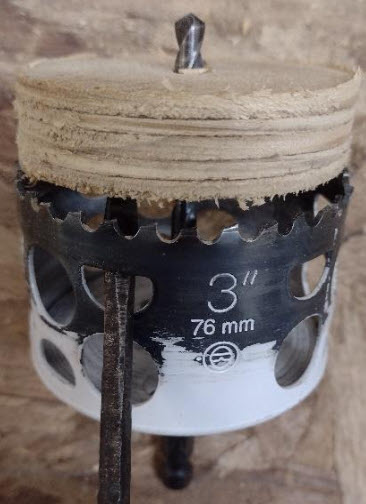
4. Use the snips to cut a strip of hardware cloth that is slightly wider than the diameter of the hole saw.
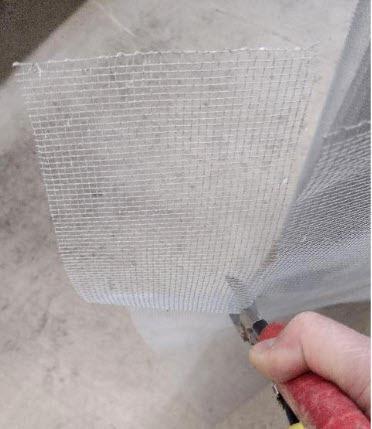
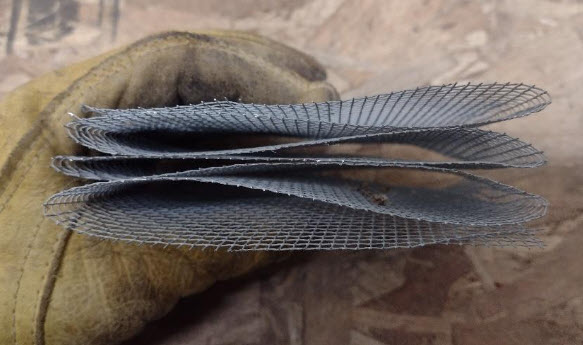
5. Fold the strip of hardware cloth accordion style at an interval that matches the width of the strip, so it has multiple layers that are roughly square.
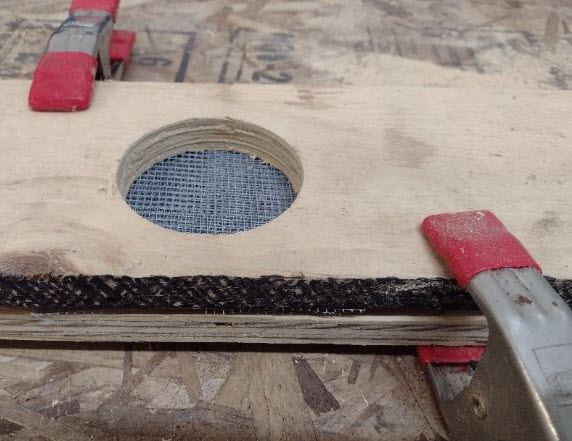
7. Place the folded hardware cloth between top and bottom boards and clamp so folded hardware cloth is centered under hole in top board.
8. Remove pilot bit from hole saw.
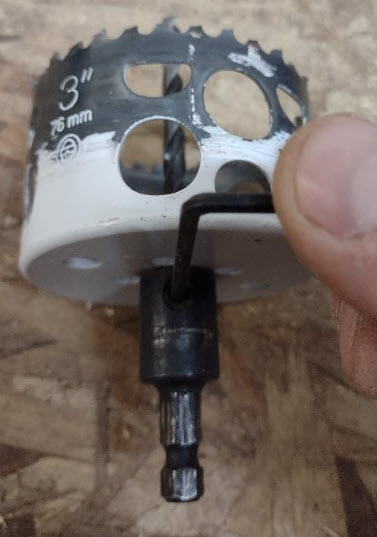
9. Use hole in top board to guide placement of hole saw and slowly cut through the layers of hardware cloth with the hole saw running in reverse (counterclockwise).
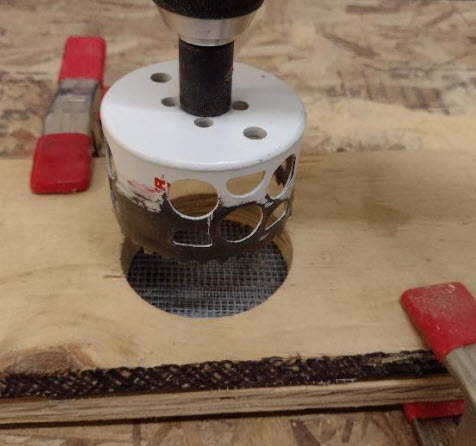
10. Remove the cut screen circles from the hole saw with a screwdriver.
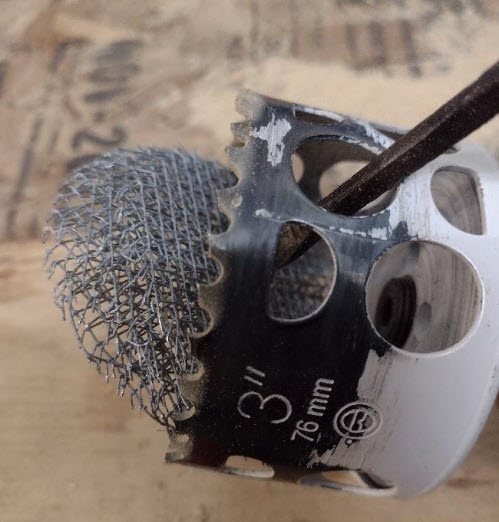
The screen circle is placed inside the jar ring followed by the solid lid. Be careful when handling the mesh screen of the sharp edges the cut wire may have. The ring should then fit snugly on the jar. The provided instructions can be printed and inserted into the jar for storage until needed.
For more information on varroa mites and alcohol washes, visit www.pollinators.msu.edu.
All photos by Dan Wyns.


 Print
Print Email
Email


