Taking a Water Sample
DOWNLOADWater testing can be tricky. If done correctly, water testing can yield accurate results that will both save you money and ensure safe food. If done incorrectly, a false positive can require a costly mitigation practice in order to maintain GAP compliance. This guidance document provides instruction on taking a proper water sample as well as requesting the correct test.
The first step in getting a water sample is understanding what tests you need and what units you need the results to be expressed in. The MSU Extension Agrifood Safety Workgroup recommends that water sources be tested for generic E. coli bacteria. Depending on the laboratory method used, test results may be expressed in colony forming units per 100 ml water (CFUs/100 ml) or as a Most Probable Number (MPN*). Make sure that whichever unit the results are being expressed in is also the unit that your Water Usage and Quality Risks Policy is specifying. If the auditing scheme specifies, you may also wish to test for the pathogenic strain E. coli 0157:H7 so check with your auditor before testing.
Growers then need to find a testing lab. County health departments provide easy points of access to obtain materials and supplies for the DEQ Drinking Water Laboratory. For the sake of illustration, this episode will outline water testing using the DEQ forms and materials. When using supplies from another testing facility, addresses and forms may change, but it is unlikely that the sampling procedures or holding times will be different.
On the DEQ request for water analysis, choose Test Code NPEC-LO regardless of the sample source. The results will be reported in colony forming units (CFU) per 100 ml of water. Results from the state lab will be on record at both the state and the county. Record all sampling information (including results) on the water testing log sheet.
If you use the testing offered by your local health department, you will be given a Request for Water Analysis form (see diagram on the front) and a free testing kit that includes a collection bottle and shipping materials. For a free one-year supply of testing bottles, call (517) 335-8184.
When opening the sampling bottle, it is important not to touch the inside of the bottle. We often carry E. coli on our skin and may inadvertently contaminate the sample. Even if your hands are washed, you may still have trace amounts of bacteria on your skin that can alter the test results. It is best to use an alcohol wipe or hand sanitizer prior to opening the bottle. The directions below can help guide you in taking a proper water sample:
1. Do not open the sampling bottle until you are ready to collect the sample. Airborne bacteria can also alter test results.
2. When sampling from your irrigation system, water should be collected directly into the sampling bottle. Water that is collected into another container could pick up contaminants along the way. Run the water for several minutes to flush dirt and debris out of the system.
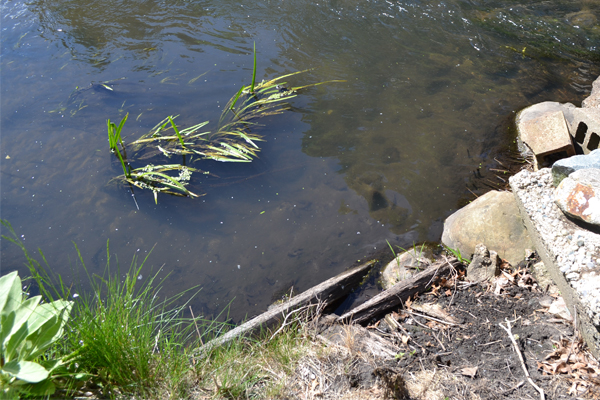
3. When taking a sample from a pond, lake or stream, secure the bottle to a sampling pole. quickly plunge the bottle into the water, avoiding plants, algae and bottom sediments. Make sure there is at least 100 ml in the bottle. Keep in mind that there is usually a preservative tablet or powder in the bottle. Keep the preservative safely stowed in the cap while you sample, then add it to the water.
4. The sample must be put on ice immediately and delivered to the testing lab within 6 hours. E. coli can grow or die off in the sample between the time it’s collected to the time the sample is delivered to the laboratory, so it’s important to collect, store and transport the sample properly within 6 hours, on ice.
Remember that accurate results depend on proper sample collection and handling. Without an accurate test, you may need to spend a lot more time and money on food safety than you have to.


 Print
Print Email
Email


