Creating Password Protected Zip Files in Mac
 Print
Print Email
EmailInstructions for using the Terminal to create password protected zip files in Mac.
- Create a Folder on the Desktop.
- Place the Files you wish to Zip within the folder.
- Select the Search Icon in the upper right corner.
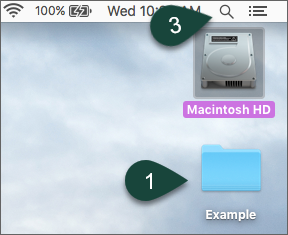
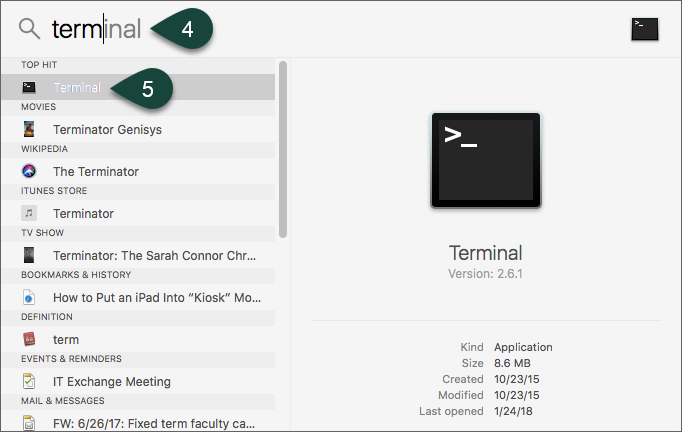
- Search for the Terminal.
- Select Terminal.
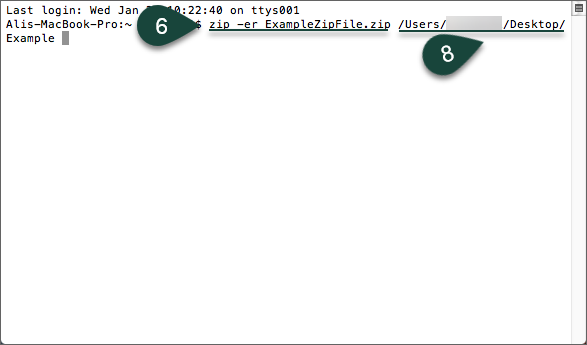
- Enter zip -er NAMEOFZIPFILE.zip
- Enter a space.
- Drag and Drop the Folder on the desktop into the terminal.
- Select Enter/Return.
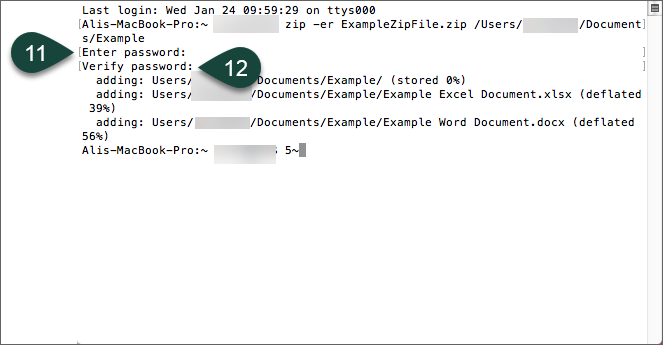
- Enter a Password.
NOTE: It will not visually display anything to know you are typing when entering a password. - Reenter the Password.
- Select Enter/Return.
- To get to the new ZIP file, select Finder then All My Files.